
Here’s step by step instructions to set up your first cloud backup with CloudPockets and Acronis.
Overview

Our cloud backups are based on the award winning Acronis system, and all management is done from the online management portal.
Once you have signed up with a backup plan or trial you will receive an email with the credentials to log into the managment portal. From there you download and install the backup client and configure it.
Here’s detailed steps.
Download and Install Backup Client
Your first cloud backup starts with downloading the backup client to the computer you want to back up.
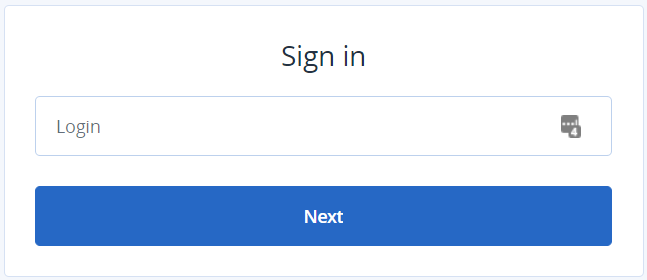
Go to https://backups.securedoffsite.ca and login with the credentials you received.
You may be prompted to set up Multi Factor Authentication (MFA) and you will need to do this first.
Once logged in you will likely see a popup asking you to install your first device.

Or, select Devices on the left, then at the top right click Add

On the right you’ll see a list of device types (Windows, Mac, Linux, etc). The most common are Windows or Mac computers or servers.
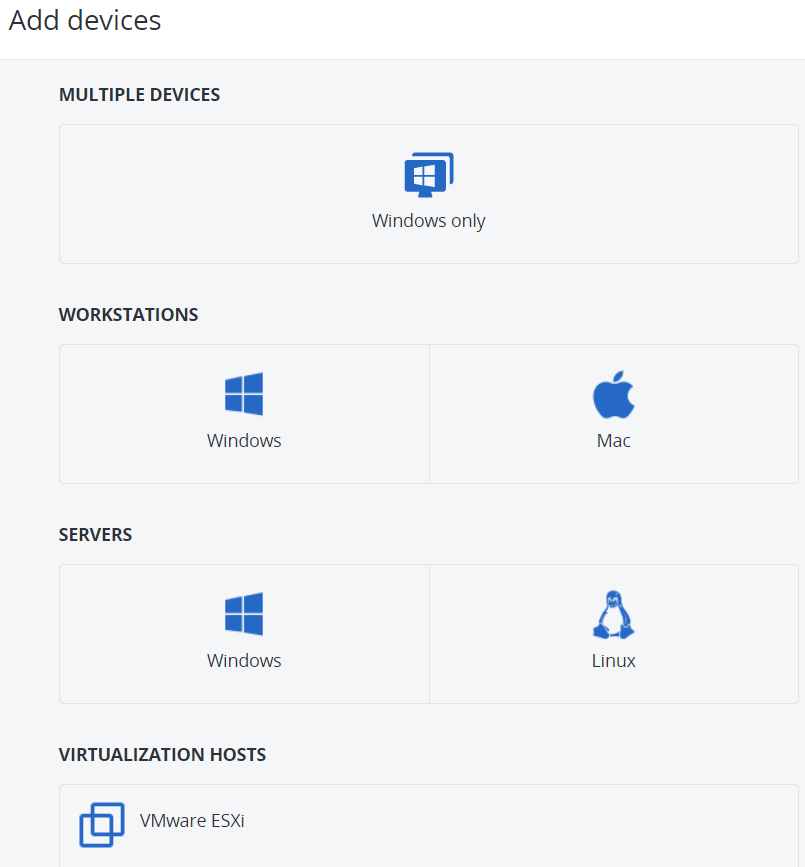
This will download the appropriate client, which you then install.
Backup Registration
At the end of the installation you will be prompted to register this install with your Acronis account.
Click the Register button and log into the Management Portal to complete this.
You can now close the installation program, all further configuration is done from the Management Portal.
Configure your first Cloud Backup
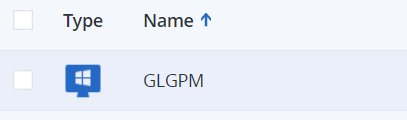
From the management portal, under Devices, highlight the new device you just installed.
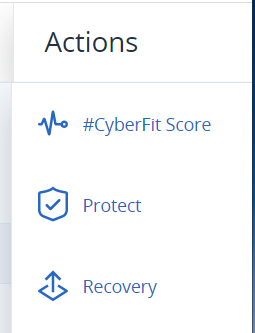
On the right, select Protect
In the window that pops up you will see the configuration parameters for your backup.
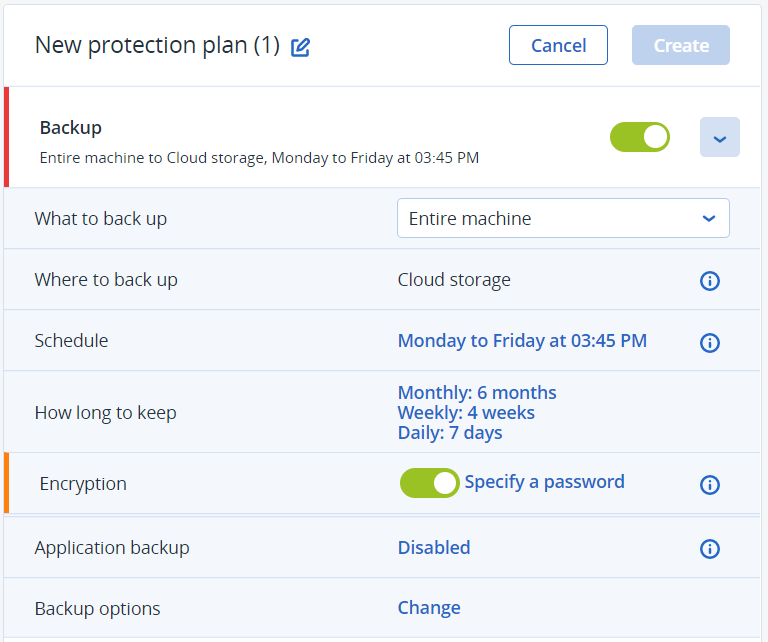
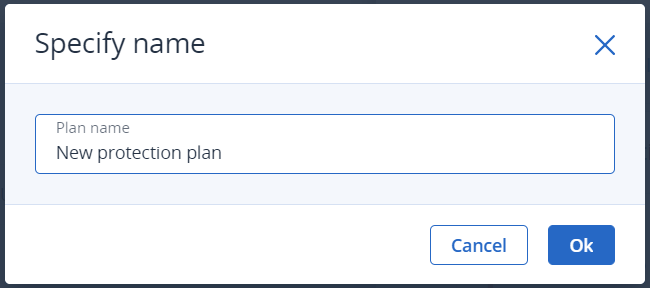
Start by hovering over “New Protection Plan” until you see the edit button. Click that and change the backup to something meaningful, then click Ok.
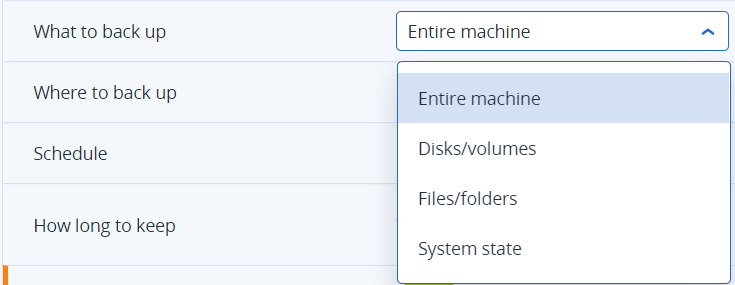
What To Back Up
To the right of “What to back up” click the drop-down menu and select the type of backup you want. The most common backup is a Files/folders backup.
Beside Items to back up click the “Specify” link. This will take you to a list where you can specify the files and folders to back up.

Expand each of the folders and select the what you want.
Note that your user’s Desktop and Documents is usually found under “C:\Users\{username}\” etc.
Create a Backup Schedule
Beside Schedule click the date/time to change the schedule.

You can select Monthly, Weekly, Daily, or Hourly. The most common is Weekly if you do not want to include weekends, or Daily if you want to backup every day at the same time.
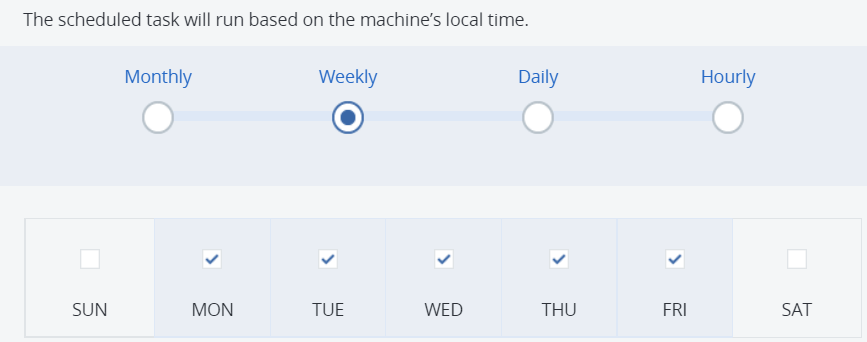
Then select the drop-down beside “Start at:” time and select the time you want the backup to start. Here’s an article to help you pick the best time to backup.
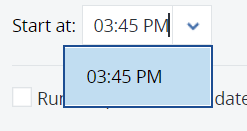
Click Done when complete.
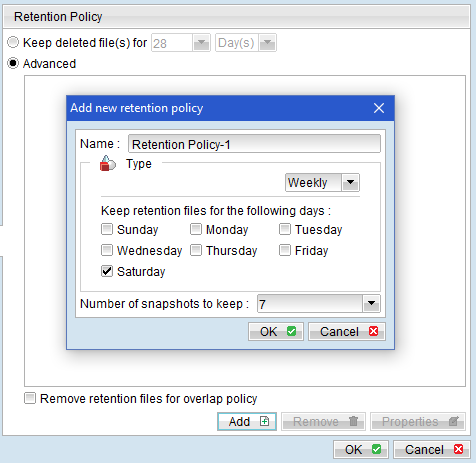
How Long To Keep Backups
The “How long to keep” section is talking about Retention. Here’s an article about Retention.

The default is 7 days worth of backup, then 4 weeks of weekly backup, then 6 months of monthly backup. If you’re not sure then take the defaults.
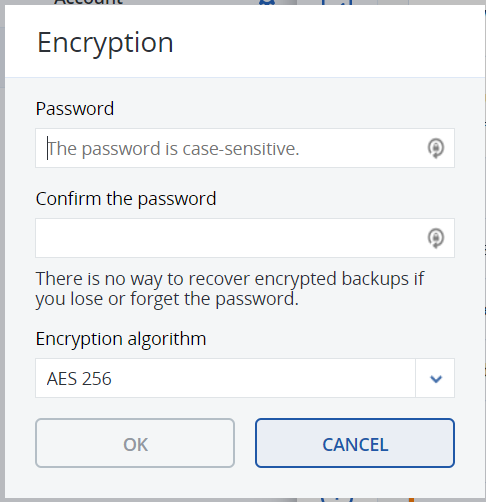
Backup Encryption is Important
The last piece is encryption. You must select an encryption key or password.

This key is super important and is different than your password to login to the Managment Portal. Only you know this password and you cannot recover your backup files without it. Keep this password in a safe location!
Your First Cloud Backup is Complete!
Click Create and you’re done!
You can come back at any time and change settings in the Management Portal.